Evolution of a Blog

This blog has evolved as I have as a maker. It starts at the beginning of my journey where I began to re-tread my tires in the useful lore of micro electronics and the open-source software that can drive them. While building solutions around micro-electronics are still an occasional topic my more recent focus has been on the 3D Printing side of making.

Wednesday, June 21, 2017

Would I Recommend the Wanhao D7?

The price point of the Wanhao D7 has a lot of people wondering if they should buy one.  Some of these folks, a lot really, already have an FDM printer and want additional capability.  Some have no printing experience but want to start somewhere.

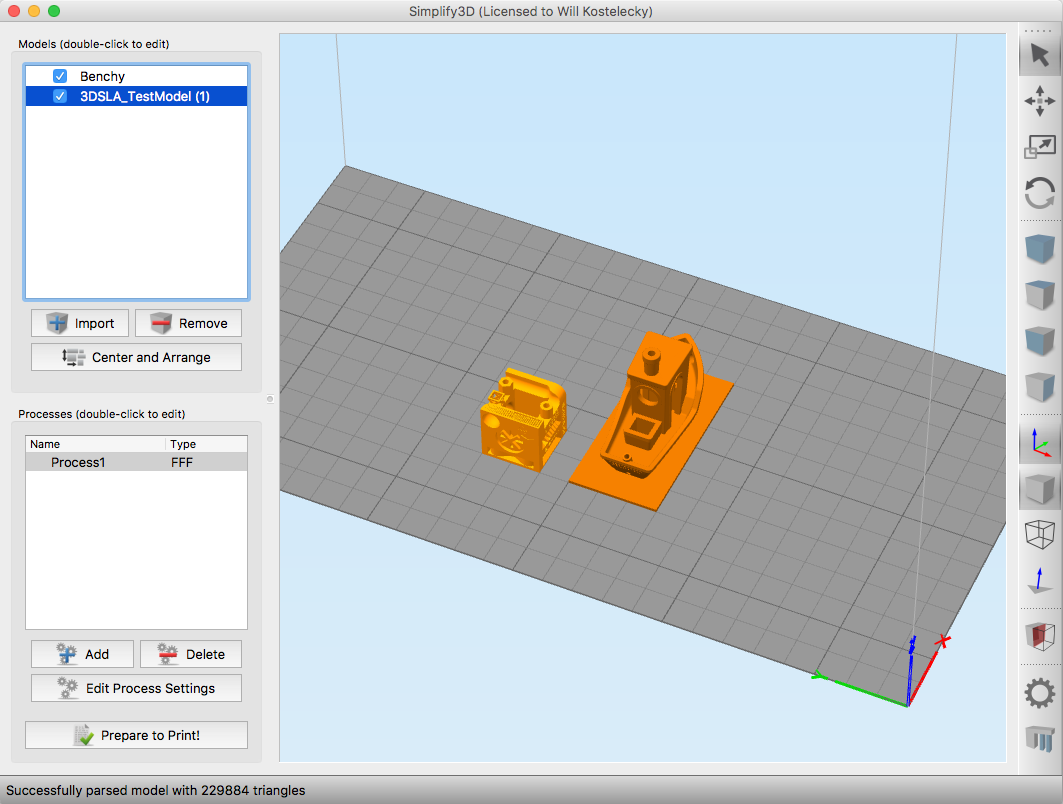
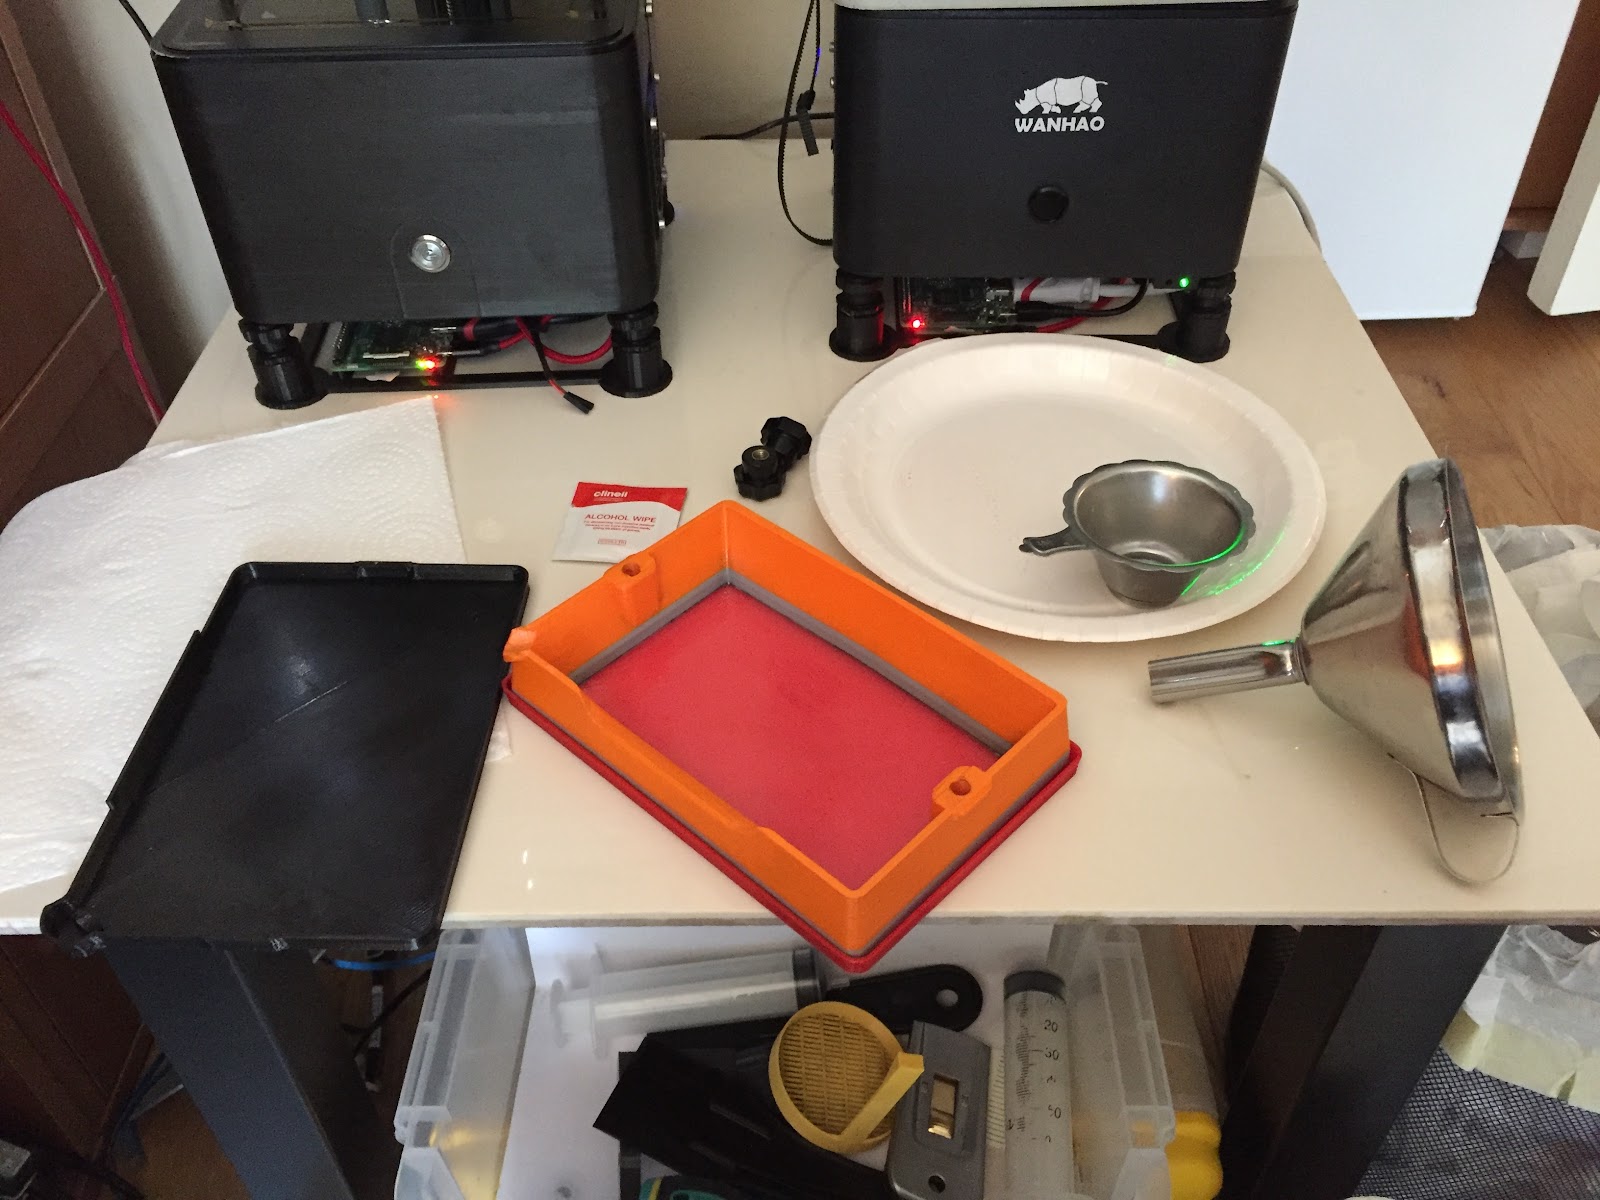
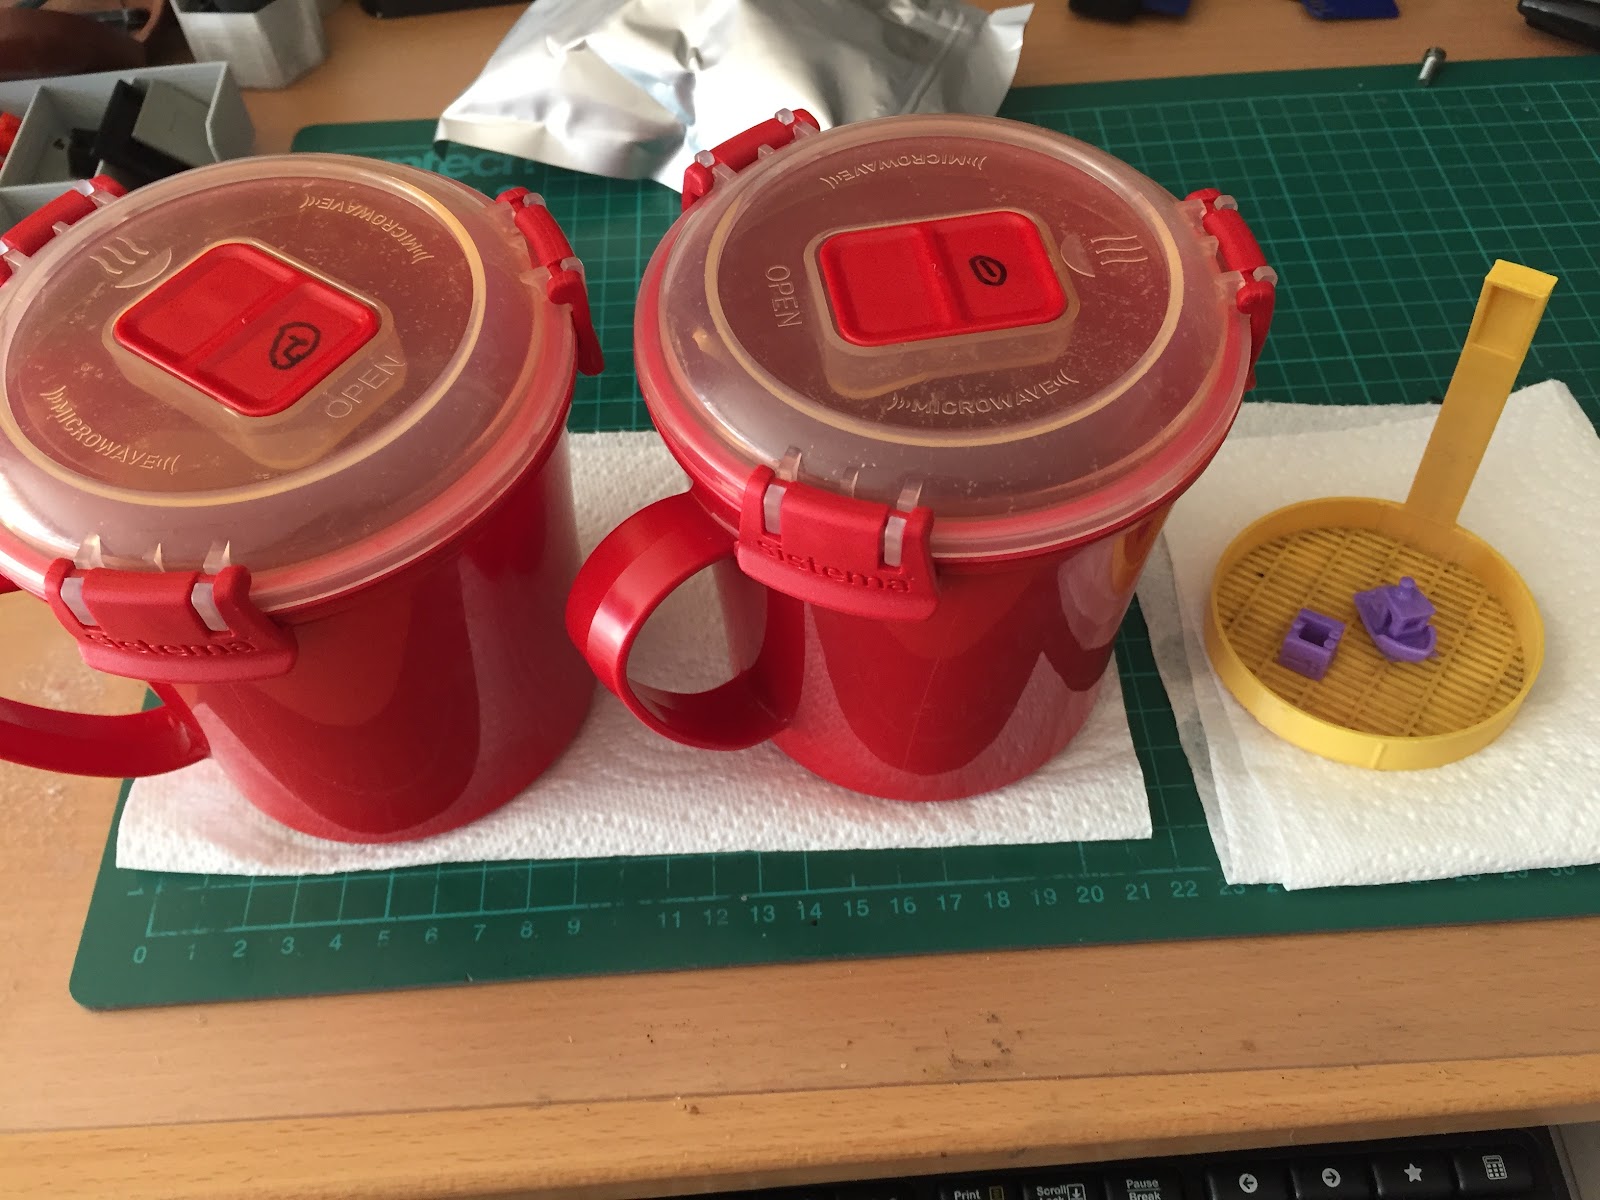
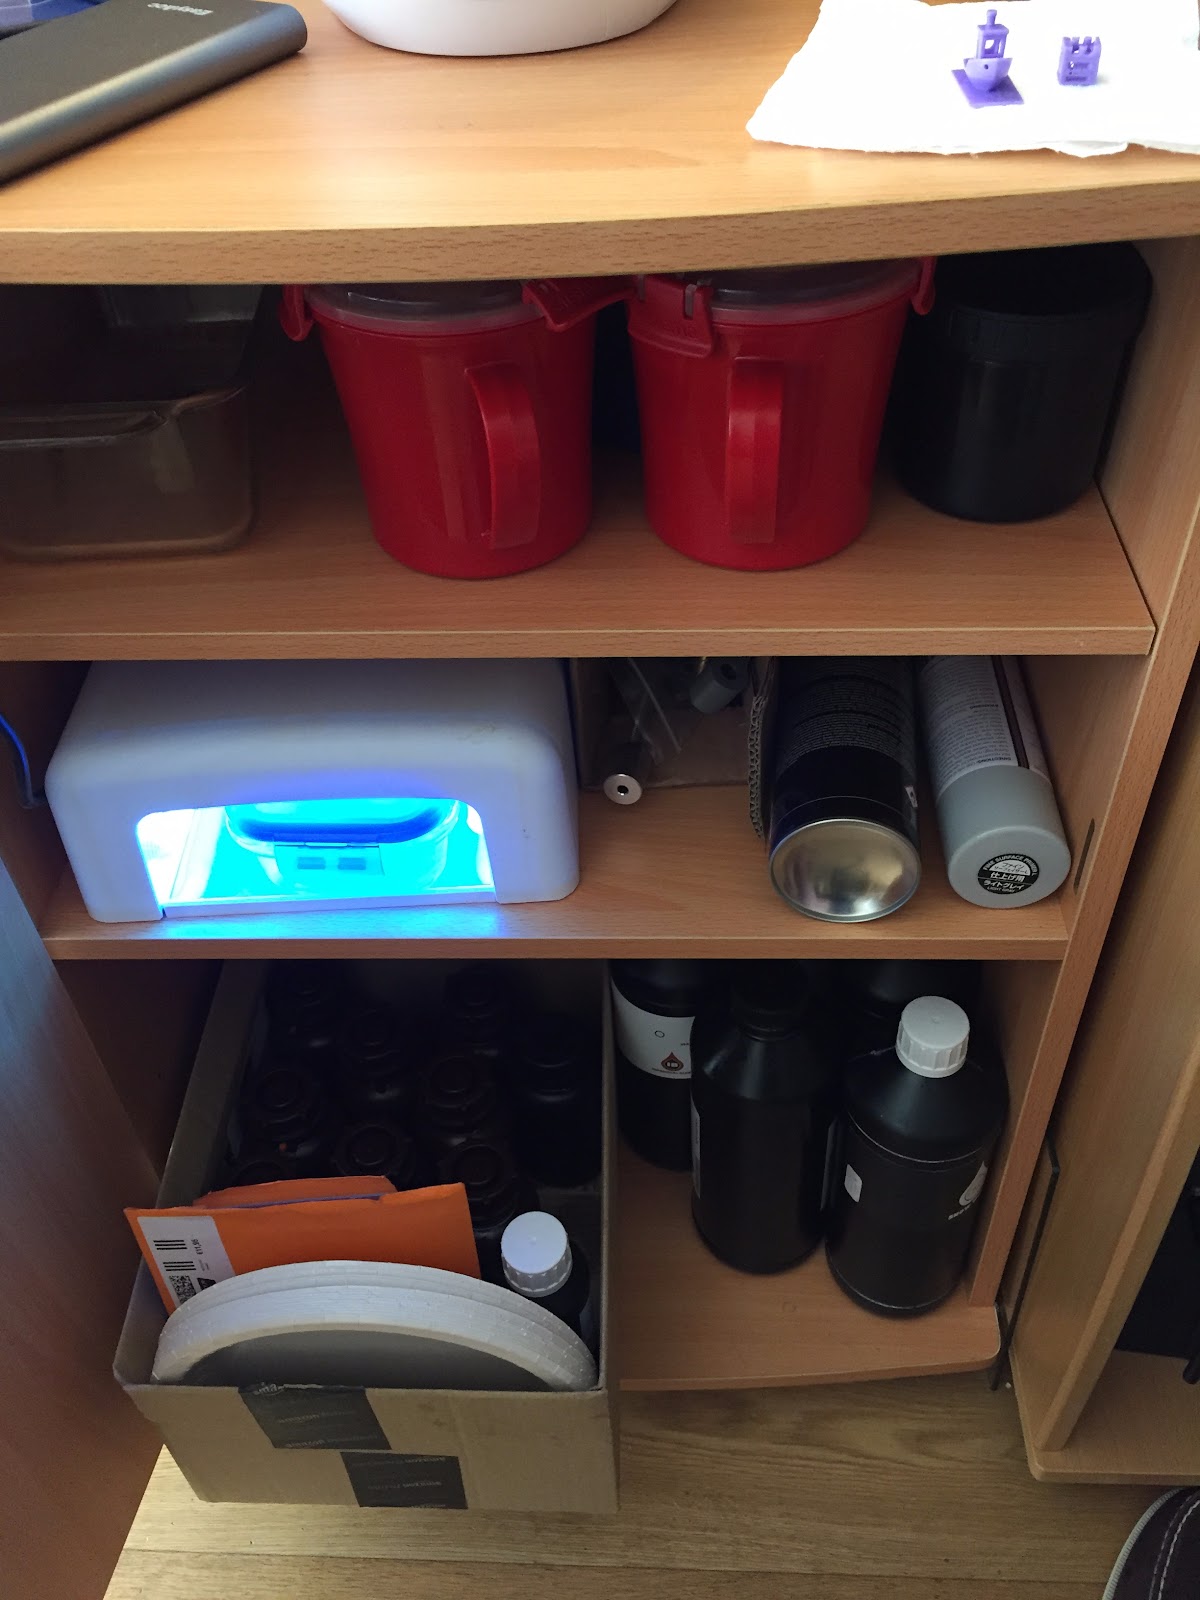
The first thing that a new buyer should understand is the process that printing using resin will entail.  I had described my workflow in an earlier post located here.  If you already knew all about resin, or you are ok with the process that I described, then we can talk about the D7

What do you want to do with a Wanhao D7?


So the first question that I would ask before making any recommendation would be to explore what they want to do with the Wanhao D7.   If they already have an FDM printer they can probably skip to the next question!

The D7 is a small printer.  It's build area is 120 x 70 x 200mm.  By comparison my Ultimaker 2+, an FDM printer, has a build area of 223 x 223 x 205mm.  On the other hand the best resolution that the Ultimaker can deliver is 20 microns (though I have never actually printed at anything lower than 60 microns) on the z-axis and 250 microns on the x/y axis.  Meanwhile the D7 can routinely print at 30 microns on the z-axis and it has an x/y resolution of 40 microns.

These two printers obviously satisfy different requirements.  The Ultimaker, an FDM printer, melts and extrudes plastic and prints large functional items in a variety of materials.  Its level of detail, however, is going to be a limiter.

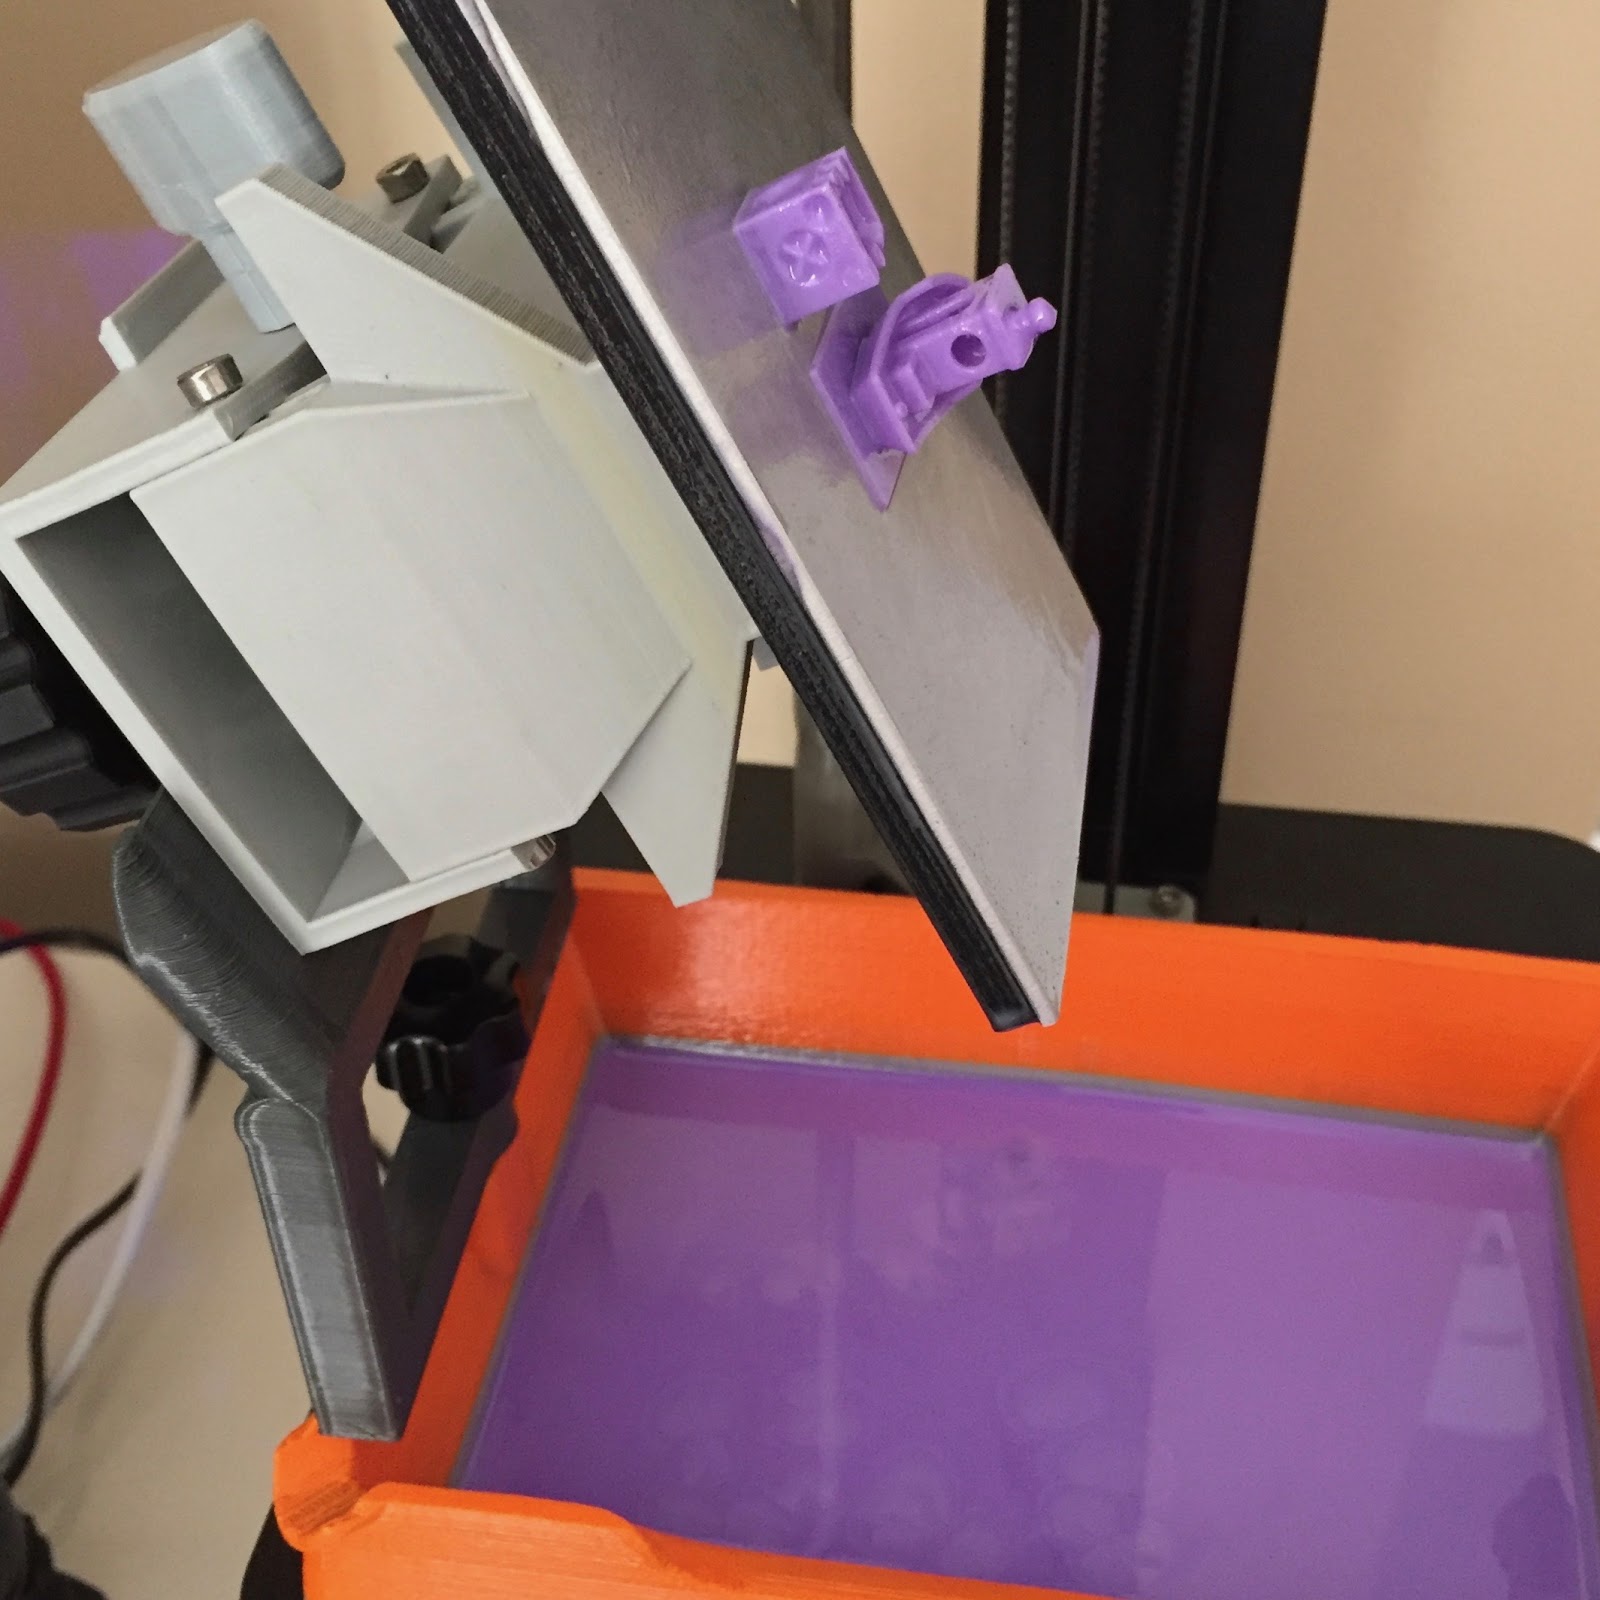
The Wanhao D7 is a Direct UV Printer and uses UV light to harden a liquid resin into small detailed parts.  While they can be functional it is more likely that they will be ornamental, game pieces, or used to mold a functional part.  In general this process won't produce a particularly strong part though there are resins that will be stronger than the ones I am currently using.

So, if you are ok workflow associated with resin based printing, and you know that what you want to print are smallish but highly detailed parts, then you need to answer one last question!

Are you prepared for the adventure that a Wanhao D7 can entail?


You need to consider the results of a poll that I conducted recently in the Facebook Group devoted to folks that are have or are interested in the D7.  First I have to acknowledge that my construction of the questions was a bit flawed and the sample size of 32 is not large enough to bet your life on. That said I would also say that the results correlate with the posts we see here.


Slightly over half of the people responding like their printer and only one person (3%) hates it. That leaves 44% of you in between liking it and hating it.

My question about the build plate was badly flawed in construction and so I feel needs to be discarded. The (flawed?) results would indicate that over 70% of owners had to take corrective action on their V1/3 or V1..4 build plate. Based on the comments below, and on a daily basis in this group, I would still suggest that most users getting a new machine will indeed have issues with their build plate often requiring that it be sanded (or even sand blasted)! Maybe the survey question is not so flawed? Leaving build plate issues aside, I was surprised that nearly a third of owners had a problem other than with their build plate.

Finally, a little less than a third of owners printed straight out of the box. More alarming, almost 1 in 5 can still not print after more than a month.

If I were Wanhao I would want to understand these results in much more detail. I would do a more scientific poll drawing on the FB community but using something like SurveyGizmo or SurveyMonkey. I would try to understand numerically what problems are being experienced by new owners. I would then ask myself what my targets are for out of the box printing and ultimate customer satisfaction. Finally, I would wonder if I have tried to cut too much cost out of the printer and if there are areas where a little higher component quality might be justified. Like on the build plate!

Quality has improved since the above poll but build plates are still an issue.  Here is a recent chart to that point:
People are printing but it is 'def not plug and play!

If you are still interested in the D7 after reading the above, and you are patient enough to work through any initial problems that you might have, then you will end up with a printer that is capable of amazing quality.  You do, however, need to be prepared for the adventure that getting to that quality might entail!


Monday, June 19, 2017

Workflow for 3D Printing with Resin

Printing object using a resin based process means working with a liquid that is harmful to skin and in some cases can be a little smelly.  The nature of the liquid, and how the process works, leaves open the possibility of a big old mess if you are not careful!  Here is a rough overview of my printing process.


Select Models to Print: Select the models to be printed on a given plate.  There is no time penalty for printing multiple pieces on a given run as long as any extras are shorter than the "primary" print.
Add Support Structures: Add support structures to each of the models that you will be printing (assuming they need them and do not already have them in place).  Some printers come with software that can do this as part of the printing process.  I use NanoDLP and while it "can" ... I "dont".  I am still evolving my workflow but what I have found to work the best is a product called Flashprint sold by another printer manufacturer.  As this is a workflow overview it will not be talked about here.  Suffice to say that at the end of this step you will have an STL with your model and the necessary support structures so that it can be printed.
Create Plate to Print: You now have one or more models that are ready to print each with supports added if needed.  In this case they are not.  I am showing Simplify3D here which is what I use to construct the plate to print if there are multiple models. I can easily move, scale, and even add a base (by combining a flat model).  You should be able to do this easily in NanoDlp but I have not found this to be the case.  You can also accomplish the same thing in Meshmixer, Flashprint, or B9creator.
Screen Shot 2017-08-16 at 6.10.36 PM.png
Prepare your work area:  This is the principal work area for my resin based printing.  The ultrasonic cleaner, UV curing station, and resin storage are not in the picture but are to the left of my desk which is to the left of this area.  Small man cave!
1) Floor tile cost me a couple quid as a sample.  Paper plates are essential items!
2) Trash can needs to be close so
3) You have a place to put all the paper towels you are going to be using.
4) Handy storage for things you will need to work on the prints and that will likely be contaminated with resin
5) Handy storage for rubber gloves and also for IPA soaked wipes.
6) Rack that I designed for storage of vats.  Room for six of them though I only have four.  The other two slots are being used for drawers.  To the left you can see secondary resin bottles with one for each of the flavours of resin currently in a vat.
Prepare to Print: Select the resin to be used and clean the vat and build plate (if needed).  Here I have just emptied a vat of the resin that was in it.  I used the funnel and the tea strainer you see on the table.  I never pour resin back into the source bottle as I have a collection of small bottles for interim storage. The vat is from the FepShop.  The red and black covers can be downloaded from Thingiverse and printed on any FDM printer.
Print:  Time to print the model(s).  At this point the vat is on the printer with resin in it, the build plate assembly has been mounted and leveled, and we are ready to go.
Drain Excess Resin:  Once the print is complete you can use one of a variety of hangers to allow excess resin to drip from the plate.  Or you can be impatient and waste some resin by taking it directly to the paper plate.

See the wiki for a long list of printable mods for the D7 including the draining holder.
IMG_5896.jpg
Remove from Build Plate: Carefully remove your model(s) from the build plate.  I use a glass scraper combined with a spatula if needed.  The tweezers are handy for small parts.

Supports can be removed now or after the cleaning step.  
IMG_5907.jpg
Initial IPA Rinse:  I use a two step rinse process.  Thirty or so seconds in bath #1 with manual agitation.  
IMG_5912.jpg
Second IPA Rinse / Ultrasonic Clean: Then move the parts to bath #2 and put in the ultrasonic cleaner for three to five minutes depending on the model and the resin.  Regularily discard the IPA from bath #1 replacing with IPA from bath #2.  Fill container for bath #2 with fresh IPA at that point.
IMG_5921 (1).jpg
Final Post Process Steps: Once the parts are clean you can either let them air dry or you can rinse them well.  Any IPA left on them when they are cured will cause white spots.  In the picture you can see my UV Nail Dryer with a container full of water for the parts to cure in.  For larger parts I have bread loaf pan that can be filled with water and put outside in the sun.  The water, btw, keeps the cure process from resulting in a tacky surface.

Note that this cabinet is also my storage area for resin.  On the lower shelf there are source bottles on the right and in-use bottles on the left.