Evolution of a Blog

This blog has evolved as I have as a maker. It starts at the beginning of my journey where I began to re-tread my tires in the useful lore of micro electronics and the open-source software that can drive them. While building solutions around micro-electronics are still an occasional topic my more recent focus has been on the 3D Printing side of making.

Thursday, October 15, 2015

Not exactly a tank but related!

I have been looking for a project that would take advantage of my 0.25mm nozzle and ended up with a collection of "bling" for Flames of War miniature gamers (15mm).  I had the vague idea of selling this stuff but frankly it started to feel like work, something to which I no longer subscribe, so I decided to put these designs out on Thingiverse and just have fun with it!

Speaking of the work comment.  As saleable goods these have a very low value.  At the same time, due to their size, they require a fairly well tuned printer and some amount of baby sitting.  The equation does not work out for me!  The bottom line of my experience with 3D Printing and Flames of War is that there is probably not a huge amount of opportunity to sell things that are 3D Printed to gamers.  Namely because the competition can price their injection molded stuff too low for the printed goods to compete.   I suspect there are things that could be designed that do not exist in the injection molded world that would fetch a higher price but finding those opportunities also seems like work!

Anyway, here is what we have in this first collection:
  1. Sign posts.  Have four varients though more could be done easily (1, 2, 3, and 5 arrows).
  2. Tables. One large and one small.
  3. Radio on a small table.
  4. Tools, hammer, axe, shovel, and pick.
  5. Oil drum.
  6. Shell crates.  One open showing shells with lid, one closed, and a stack of them,
  7. Dragons tooth tank barrier
  8. Crates.  Large and smaller and stacks of four different configurations (only one shown).
  9. Belgian gate barrier.
  10. Panzerfaust, bazooka, bazooka shell bags
  11. Dug-in marker.


Here is a link to these models on Thingiverse.  Some of them will likely print fine with a normal nozzle while others might be a struggle.

These items may not be sellable as 3D prints but do represent a bit of what a hobbyist can do with a 3D printer.  I think the world of modeling is going to change as printers get cheaper and easier to use.

UPDATED on 20/10/2015

Finally got around to printing some of these items using a standard 0.4mm nozzle and was pleasantly surprised at the result.  With a extrusion width of 0.3mm the printer was able to do all but one of the pieces of bling (the pick did not print).  The stand part of the Belgian Gate is not as clean as with the smaller nozzle but the other items have good detail.


Saturday, September 26, 2015

Is there enough filament for my print?

This is more of a "doop" than a "eurika" but it finally occurred to me that my luggage scale can quite easily be used to tell me exactly how much filament is left on the end of the reel.  Like I said, doop, not eurika!

Weigh the reel of filament, subtract the weight of the spool, subtract the weight of the filament that is unusable (Ultimaker specific to it's feeder), compare to the grams needed for the print from the slicer.

This is a particularly accurate measurement now that I have standardized on one size of filament and in most cases to a single manufacturer of filament.  Historically I had a number of different spool sizes and hence weights.

Hey, I did say this was a doop not a eureka!

3D Hubs Pricing Model

Below is a table that illustrates the various resolutions that can be selected for my printers on 3D Hubs.  This chart makes the relationship between the cost of a print and the selected resolution obvious in the terms of time being money!


To choose the appropriate resolution first select the material, in the below case, PLA.  Once PLA is selected, and you click on color, you will then see a list that has colors separated by a label that indicates the resolution.  The first entry for black would be the highest resolution, and most expensive, with a layer height or 0.06mm.

I will print in whatever resolution you order...however...it is hugely important that you understand the impact of layer height on how your print will look!   Please see this post for pictures of various resolutions.  In general the lowest two resolutions should be avoided for anything other than a very basic draft, or in some cases, for a large and simple model.

Finally, I am interested in specialty filaments but have only had an excuse to work with one, that being Colorfab XT which is a carbon fiber reinforced type of filament.   If you are interested in some other flavor please let me know as I may want to try it for the experience!

Friday, September 18, 2015

Some Progress on 3D Scanner

Having printed most of the parts for the scanner it was time to start assembling a breadboard version of the electronics.   My intention is to do a custom PCB that will mount as a daughter board onto the Raspberry Pi but a working breadboard comes first!
Unfortunately...it is not working!  The stepper motor runs but the lasers are not firing.  Here is the stepper motor doing its thing at the command of the RPi:
I finally assembled a cut down version of the circuit so that I could more easily work with just the problem bits, and even more importantly, so I could get some help from the SoliForum.

I had been told that the laser does not get connected to ground at least once before I finally decided to listen!   In any case it now works.

Tuesday, September 15, 2015

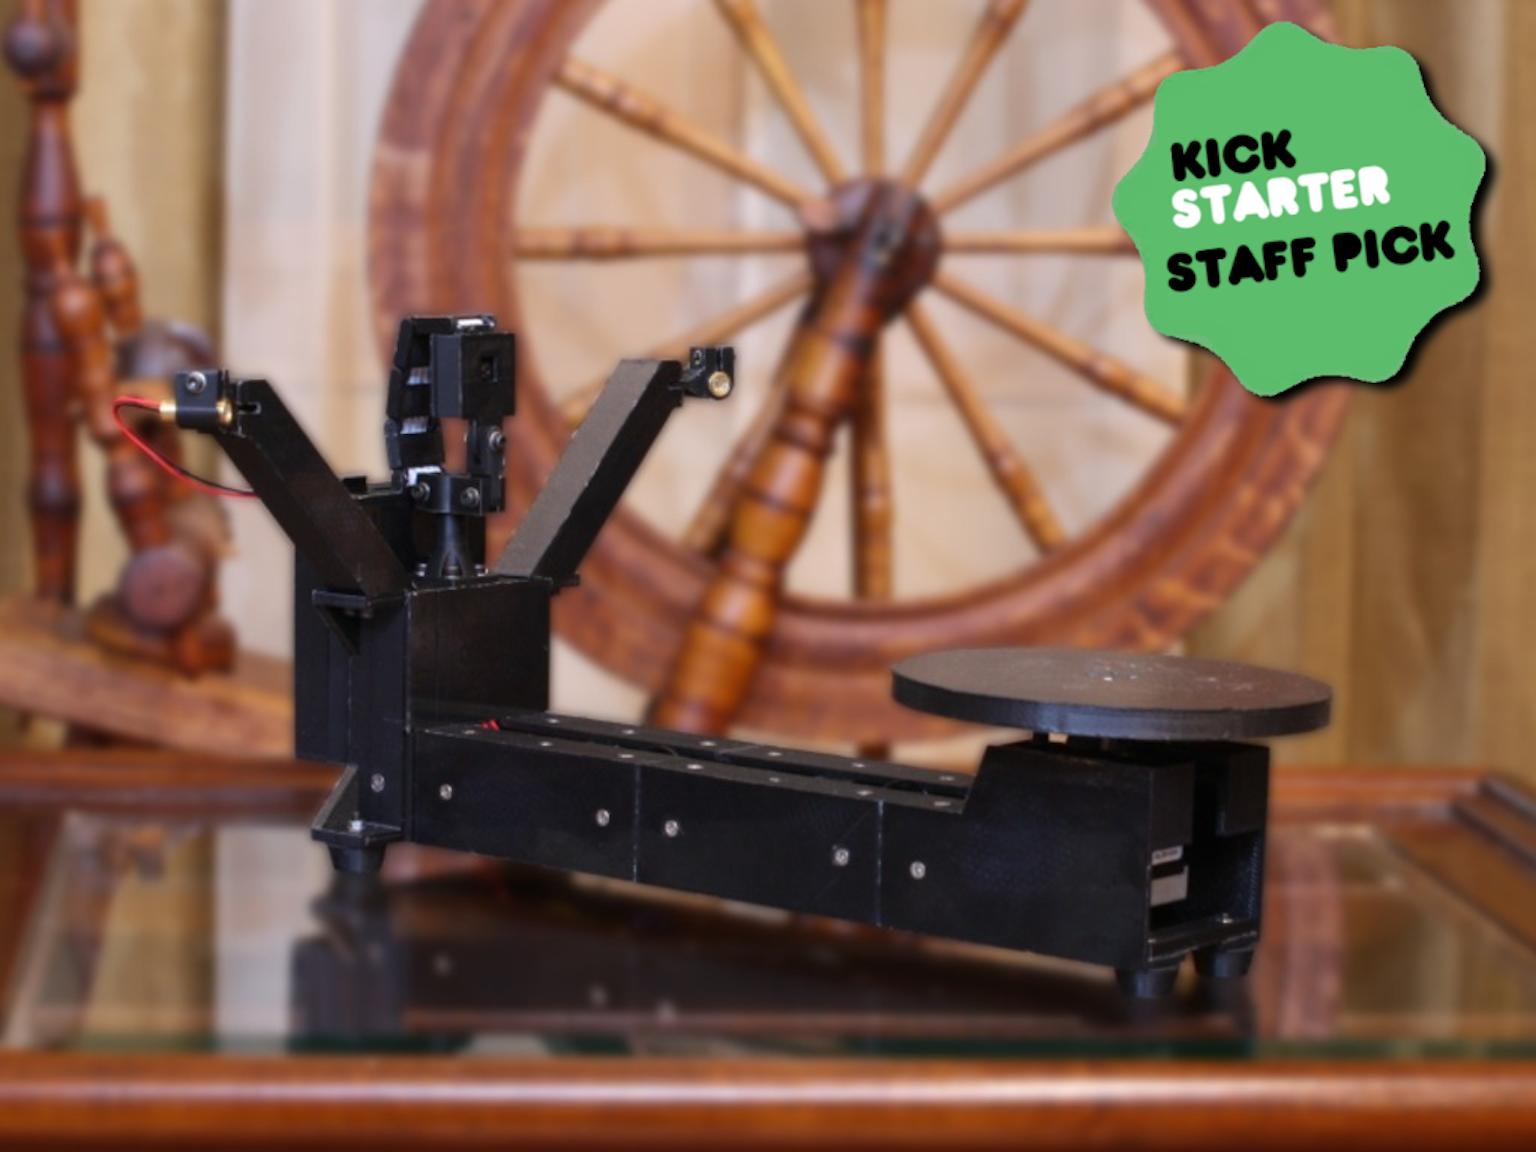
Starting a New Project - Building a 3D Scanner

I have no idea what I will scan but it seems like I should have one anyway.  I am not doing any original work here as everything that I need is in the public domain.   I will be doing a little bit of derivation work but not much.

There is a kickstarter
project out there that gave me the idea:

ATLAS 3D - The 3D Scanner You Print and Build Yourself!

It is based on a Raspberry Pi.  There is also a variant of the same kind of scanner that is based on an Arduino but basing on the RPi lets you scan without occupying a host that would be needed to drive the Arduino version.

In either case I have most of the stuff that I would need to build the scanner.   I have a Raspberry Pi and camera.   I have a stepper motor and a stepper driver.   I have a 3D Printer to generate all the parts!  I have various and sundry bits of electronics and a couple of power supplies.

What I do not have, and will have to buy, are some threaded steel rods (and bolts and washers), a couple of small electronic bits, and a giant bearing for the turn table.

The derivation that I have in mind is to create a circuit board that will ride on the Raspberry Pi as a daughter board.  This will entail some changes to the structure of the scanner to handle this change.

Here is where I am at after a day or two.  Printed parts for the base and found the stepper motor.

Printing the end where the camera and electronics live...that is a big piece of plastic!  BTW, the parts are intentionally not very pretty as I am using a layer height of 0.4mm for speed.

Started to assemble the breadboard to prototype the PCB.

Started to design the PCB.

Wednesday, September 2, 2015

First "Real" Part Done in ColorFab Carbon Fibre

I had printed a part using my new steel nozzle and the carbon fibre reinforced filament from Colorfab but it was sort of a force fit in terms of requirement.   In fact it really didnt work!   This one, however, is legitimate.  I am not entirely sure how tough it will actually be as I have not done a test to destruction but it looks nice.   I really do like the look and feel of the print.


One Last Tank Post (Honest)


I had to do a reprint of one of the tank models using the 0.25mm nozzle with a layer height of 0.08mm.   This is approaching, but not quite at, the best quality that my Ultimaker 2 can produce.

I could have printed this model with a layer height of 0.06 and, while I do not have one, there is a 0.15mm nozzle for even finer tiny details.  I printed at 25mm/sec so I could also have slowed down some.  However...this print already was going to take over eight hours so I left it at pretty darn good ...

... EXCEPT ... for the quality issue that I have that left some gaps on the top fill.   I can easily tune this out but it was too late for this print!  Frustrating!


Just to be Clear on Size!


Other posts in the "tank" series: 

Second Order was for a Tank!
Tanks, Tanks, and More Tanks!
Some More Tanks
Removing Support from a Tank Print
Tired of Tanks Yet?
Visual impact of Resolution (Layer Height) and Speed